
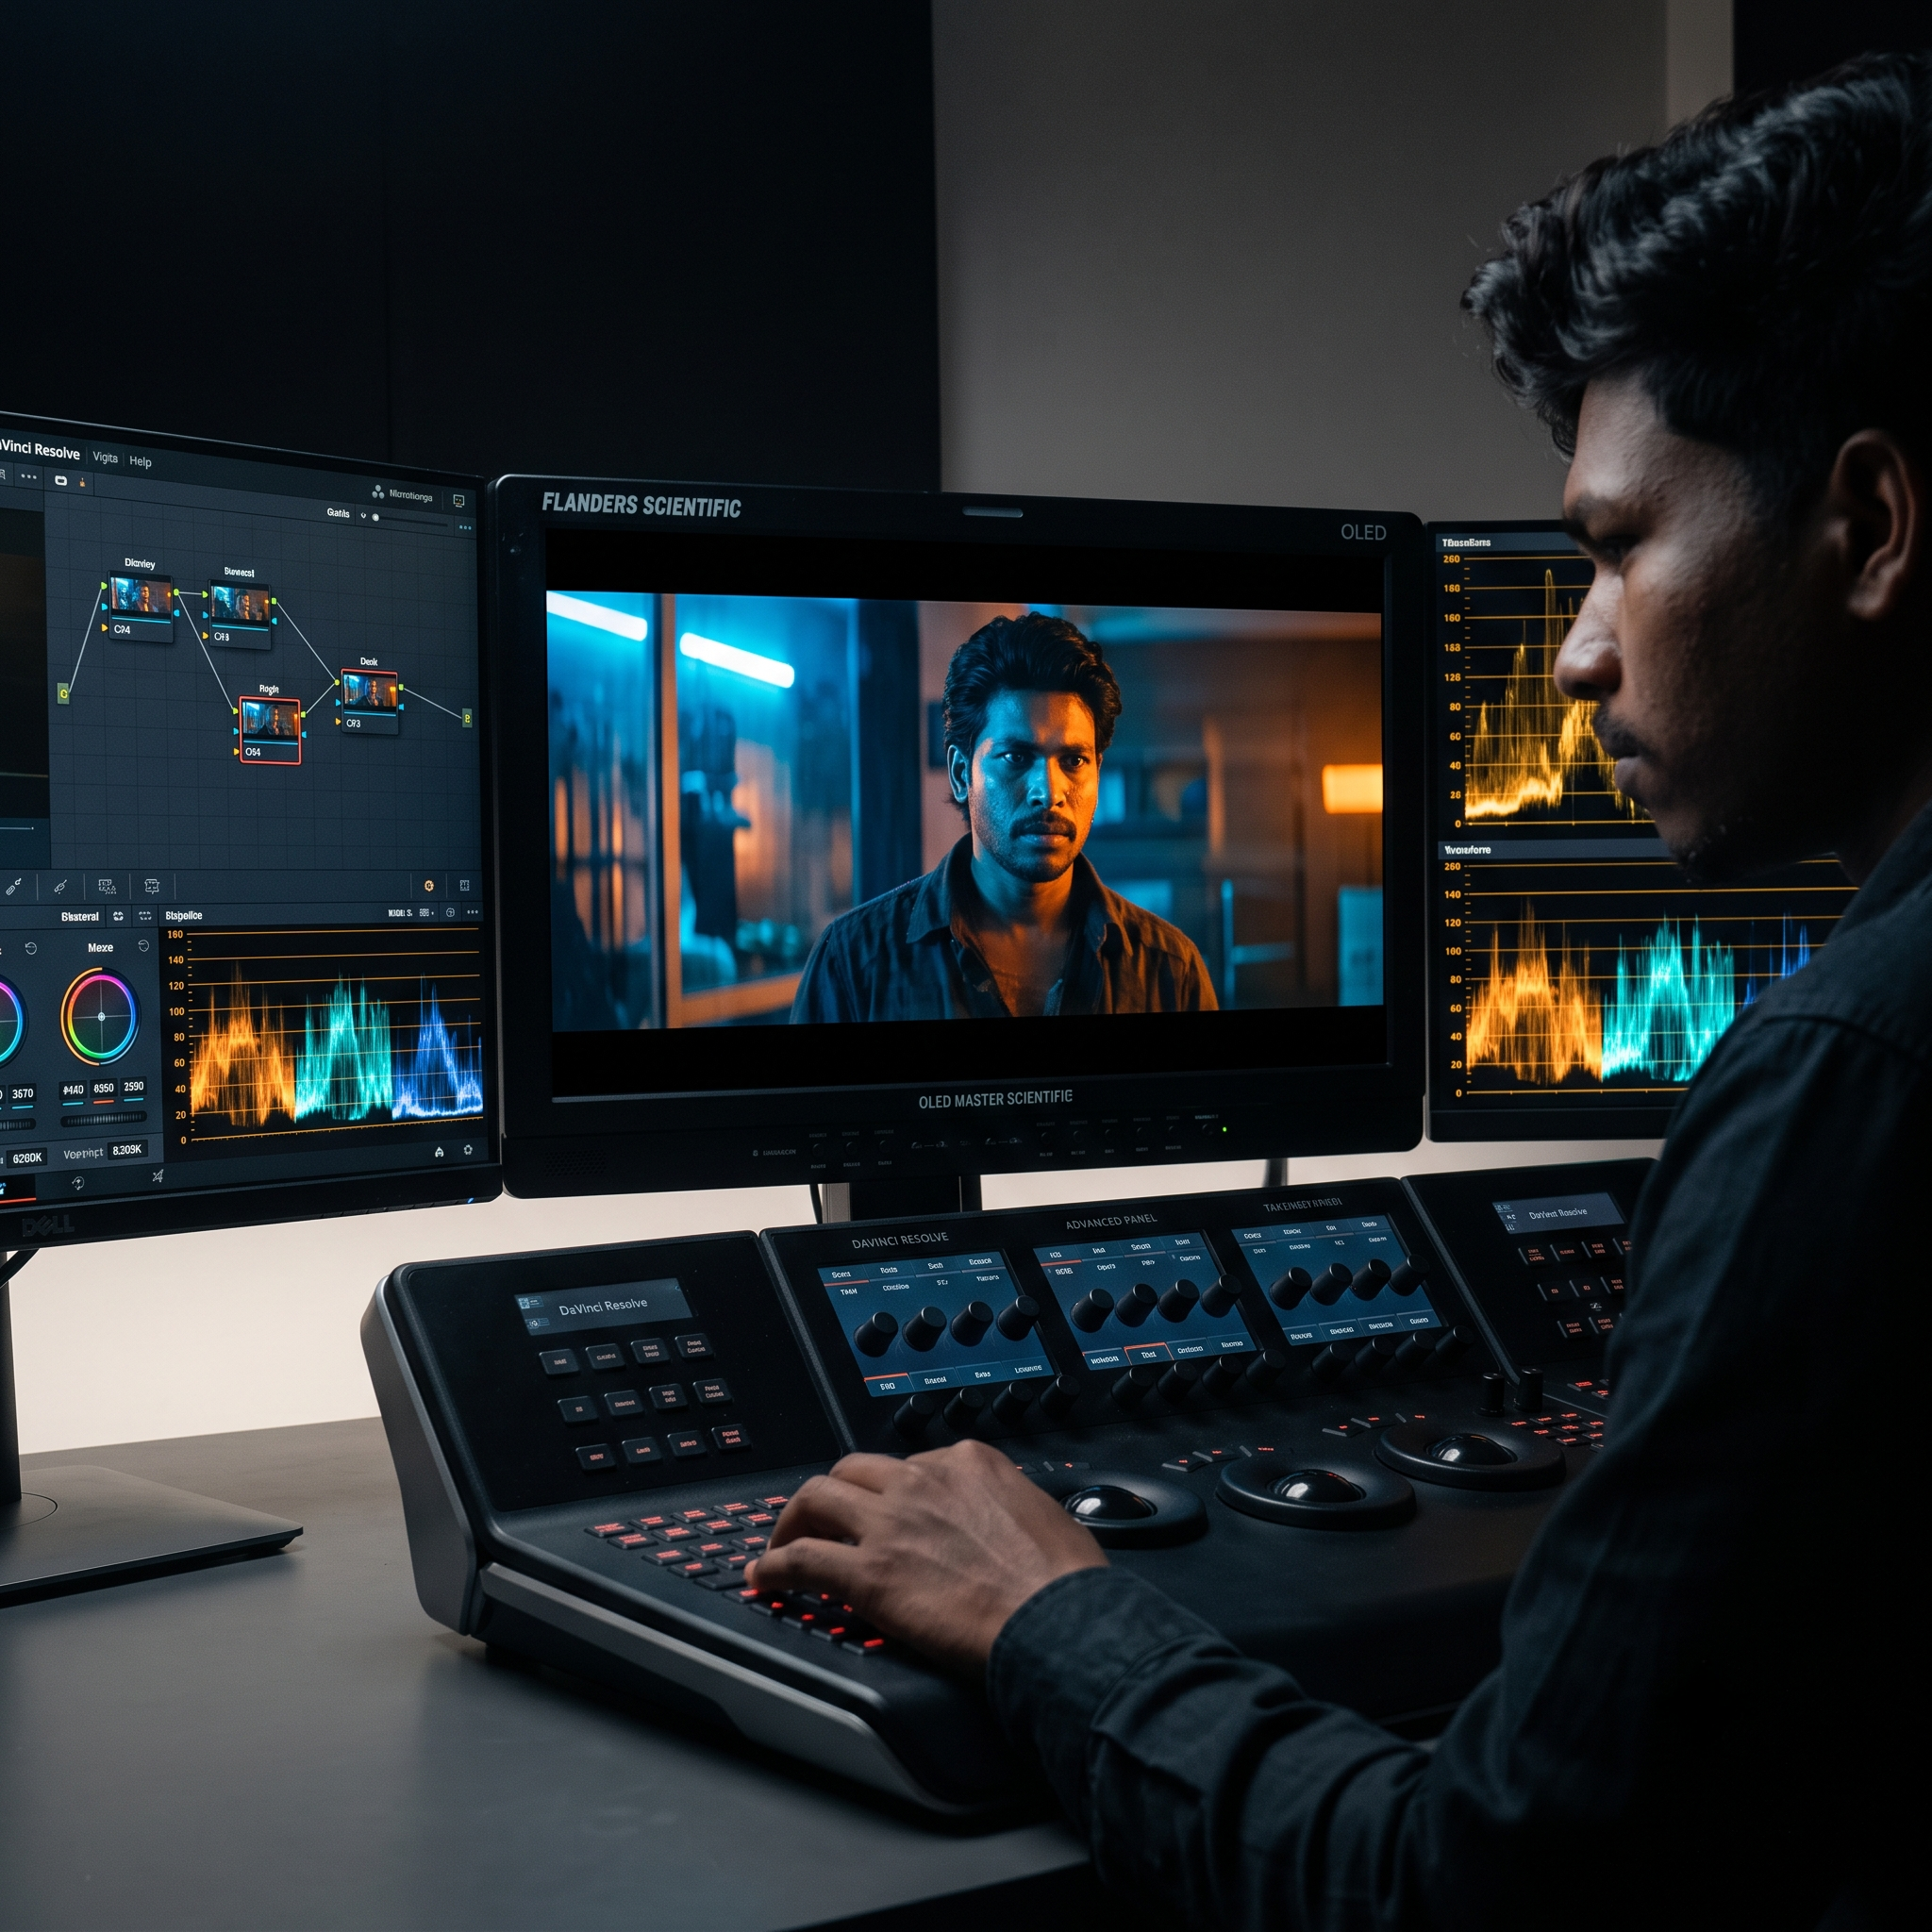
Master AI relighting and neural depth maps in DaVinci Resolve Studio. Learn surface normal mapping, volumetric isolation, and professional node tree workflows.
Sources & Reference Documentation
- Blackmagic Design Documentation: DaVinci Resolve Studio 19 Reference Manual — Chapters on Neural Engine Depth Map FX and Relight FX.
- NVIDIA Studio Drivers: Creative application support and CUDA acceleration notes for DaVinci Resolve Studio.
- Testing Testbed: Local workstation with NVIDIA RTX GPU (Studio Driver 550+), DaVinci Resolve Studio 19, tested on 4K DCI 10-bit Log footage.
🖥️ Colorist Test Environment & Version Prerequisites
Software Requirement: This workflow utilizes DaVinci Resolve Studio (v19+). Note that Depth Map FX and Relight FX are powered by the Blackmagic Neural Engine and require the paid Studio license (they are watermarked in the free version).
Hardware Tested: Dedicated NVIDIA GeForce RTX workstation with Studio Drivers (CUDA acceleration, minimum 8GB VRAM recommended for real-time 4K neural depth estimation) and Apple Silicon M-series workstations with unified memory.
Source Footage Tested: 4K 10-bit 4:2:2 log footage across various focal lengths to evaluate edge isolation and depth boundary accuracy.
For decades, color grading has operated within the strict boundaries of two-dimensional raster manipulation. When cinematographers captured a scene with flat lighting, unwanted background spill, or insufficient contrast between foreground talent and practical backdrops, colorists relied on crude primary adjustments. Secondary corrections required drawing labor-intensive Power Windows, feathering bezier handles, and battling erratic planar tracker drift whenever subjects turned their heads or walked behind practical set elements.
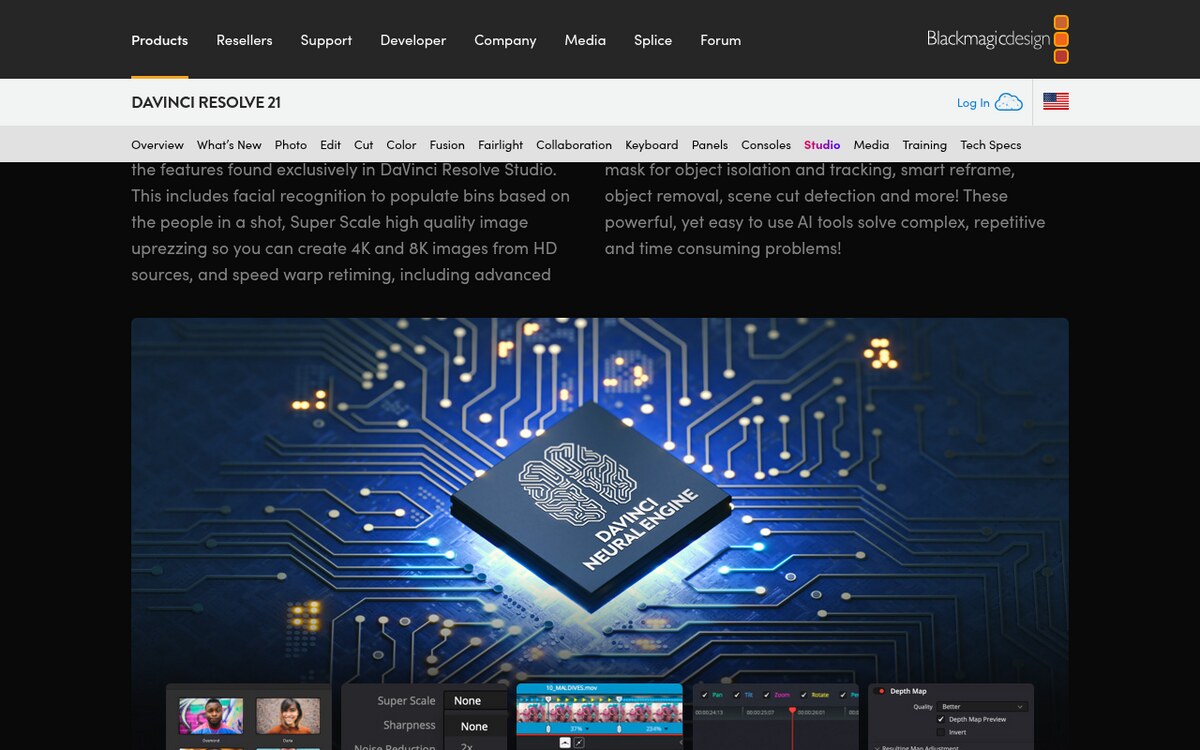
The integration of the Blackmagic Neural Engine into DaVinci Resolve Studio fundamentally breaks this two-dimensional constraint. By leveraging deep convolutional neural networks trained on volumetric datasets, DaVinci Resolve extracts spatial geometry directly from standard single-lens camera footage. Colorists can now generate dense floating-point depth maps processed within DaVinci’s 32-bit float color engine and reconstruct 3D surface normals without requiring LiDAR hardware or multi-camera stereoscopic rigs.
Through the pairing of Resolve FX Depth Map and Resolve FX Relight, post-production artists gain the ability to place virtual spotlights, directional rims, and volumetric atmospheric haze into captured scenes with physical plausibility. This guide outlines the exact color science, node tree architecture, and execution steps necessary to integrate neural depth estimation and AI relighting into a professional broadcast and theatrical delivery pipeline.
1. Color Management Prerequisites: Preserving Dynamic Range in Scene-Referred Space
Before deploying neural isolation tools, your project color management must be configured correctly. Attempting to run neural depth models or virtual relighting on display-referred Rec.709 footage leads to severe clipping in high-luminance regions and unnatural color fringing along depth edges.
Volumetric relighting requires scene-referred, wide-gamut math where pixel values correlate directly to physical light quantities captured by the camera sensor.
┌────────────────────────────────────────────────────────────────────────┐
│ SCENE-REFERRED COLOR MANAGEMENT ARCHITECTURE │
├────────────────────────────────────────────────────────────────────────┤
│ │
│ [ Camera Raw / Log Footage ] (ARRI LogC4, REDWideGamut, Sony S-Log3) │
│ │ │
│ ▼ │
│ [ Input Transform / ACEScc or DaVinci Wide Gamut Intermediate ] │
│ │ │
│ ▼ │
│ [ Working Timeline: Volumetric Relight & Depth Map Processing ] │
│ ├─ Linearized exposure additions preserve sensor dynamic range │
│ └─ Surface normal reflections behave according to inverse-square law│
│ │ │
│ ▼ │
│ [ Output Transform: 3D LUT / Color Space Transform (CST) ] │
│ │ │
│ ▼ │
│ [ Display Target: Rec.709 (SDR) or ST.2084 / P3-D65 (HDR) ] │
│ │
└────────────────────────────────────────────────────────────────────────┘
Set your Color Science in Project Settings to DaVinci YRGB Color Managed with Color processing mode configured to Custom, inputting to DaVinci Wide Gamut/Intermediate. This provides the mathematical headroom required for Relight FX to inject specular highlights and directional fill without introducing digital posterization or gamut clipping.
2. The Underlying Mechanics: Neural Depth Estimation and Surface Normal Reconstruction
To use Resolve FX Relight effectively, a colorist must understand the mathematical distinction between depth estimation and surface orientation.
Resolve FX Depth Map evaluates monocular depth cues—such as relative scale, atmospheric defocus, motion parallax, and occlusions—to output a continuous grayscale Z-buffer. Foreground elements are mapped toward white (value 1.0), while distant horizons recede toward black (value 0.0).
However, placing a light source in a scene requires more than knowing how far an object is from the lens. A flat wall and a curved human face might sit at the exact same physical distance, but light falling on them bounces in completely different directions.
This is where Surface Normal estimation becomes critical. The Neural Engine calculates the orientation of every pixel relative to a three-dimensional Cartesian plane, generating an RGB Surface Normal Map:
* Red Channel: Surface vectors pointing along the X-axis (left versus right).
* Green Channel: Surface vectors pointing along the Y-axis (upward versus downward).
* Blue Channel: Surface vectors pointing along the Z-axis (directly toward the camera).
When you adjust the virtual light position in Resolve FX Relight, the tool calculates the dot product between your virtual light angle and the pixel surface normal vector. Surfaces facing directly toward the light receive full illumination; surfaces facing away fall into realistic ambient shadow.
3. Tool Matrix: Traditional Grading Isolation vs. Neural Volumetric Tools
Understanding when to deploy neural depth tools versus legacy colorist techniques prevents unnecessary processing overhead:
| Technical Vector | Power Windows & Planar Tracking | Qualifier / 3D Keying | Resolve FX Depth Map & Relight |
| :— | :— | :— | :— |
| Dimensional Awareness | Flat 2D geometric shapes | Flat 2D chroma/luma slicing | True 3D spatial depth & surface vectors |
| Occlusion Handling | Manual rotoscoping required | Fails on color overlap | Automatically separates depth planes |
| Light Simulation | Uniform gain/gamma lift | Uniform luminance boosting | Physically based inverse-square falloff |
| Processing Overhead | Negligible CPU/GPU impact | Low GPU compute demand | Heavy neural inference (CUDA/Metal cores) |
| Edge Coherence | Sharp or feathered boundaries | Prone to chatter on noise/grain | Smooth, continuous sub-pixel falloff |
| Primary Use Case | Vignettes and localized shapes | Sky replacements and hue shifts | Volumetric separation and relighting |
4. Step-by-Step Production Workflow: Building the Volumetric Node Tree
Building an industrial-grade node tree requires separating your foundational primary corrections from volumetric lighting effects. Never apply Depth Map or Relight directly onto your hero primary balancing node.
“`text
┌────────────────────────────────────────────────────────────────────────┐
│ VOLUMETRIC RELIGHTING NODE TREE ARCHITECTURE │
├────────────────────────────────────────────────────────────────────────┤
│ │
│ [ Node 01: Exposure & Balance ] │
│ │ │
│ ▼ │
│ [ Node 02: Primary Contrast & Pivot ] │
│ │ │
│ ┌───────┴────────────────────────┐ │
│ │ (RGB Image Stream) │ (RGB Image Stream) │
│ ▼ ▼ │
│ [ Node 03: Surface Normal Map ] [ Node 04: Base Grade Passthrough ] │
│ (Resolve FX Relight – Map Mode) │ │
│ │ │ │
│ ▼ (Auxiliary Normal Stream) │ │
│ [ Node 05: Relight Emitter Node ] ◄────┘ │
│ (Resolve FX Relight – Light Mode) │
│ │ │
│ ▼ (RGB Lighting Stream) │
│ [ Node 06: Depth Matte Slicer ] │
│ (Resolve FX Depth Map via Key Input) │
│ │ │
│ ▼ │
│ [ Node 07: Color Space Transform / Display Output ] │
│ │
└────────────────────────────────────────────────────────────────────────┘
Follow this five-step configuration inside the DaVinci Resolve Color Page:
Step 1: Establish Foundational Balance
Correct camera sensor exposure, white balance, and contrast on Nodes 1 and 2. Ensure highlights do not clip and shadows retain shadow detail. All downstream neural calculations depend on the tonal integrity established here.
Step 2: Generate the Surface Normal Map
Create Node 3 and apply Resolve FX Relight. In the inspector controls, change the Operating Mode from Relight to Generate Surface Normal Map. Set the Quality setting to High. Observe the viewer: the footage should display a rainbow-colored normal map representation of your scene geometry.
Step 3: Configure the Virtual Light Emitter
Create Node 4 as a serial node immediately after Node 3. Apply Resolve FX Relight to Node 4. In the inspector:
- Set Operating Mode to Relight.
- Select your Light Type: Directional (for sun or large distant sources), Point (for practical lamps or lanterns), or Spot (for theatrical rims and key accents).
- Connect the green RGB output of Node 3 into the second green auxiliary input of Node 4. This routes the pre-computed surface normal map directly into the relighting engine without forcing Resolve to recalculate normals twice.
Step 4: Shape and Position the Light in 3D Space
Enable Open FX Overlay in the viewer dropdown menu. Click and drag the on-screen wireframe controller to position your virtual light source. Adjust the following physical parameters:
- Attenuation: Use Smooth for natural organic falloff or Linear for harsh contrast.
- Spread Angle and Softness: Soften the falloff boundary to blend the illumination naturally across cheekbones and shoulder planes.
- Specularity: Raise slightly (0.15–0.25) on talent skin to introduce realistic subsurface sheen without creating oily plastic reflections.
Step 5: Isolate Volumetric Planes with Depth Map
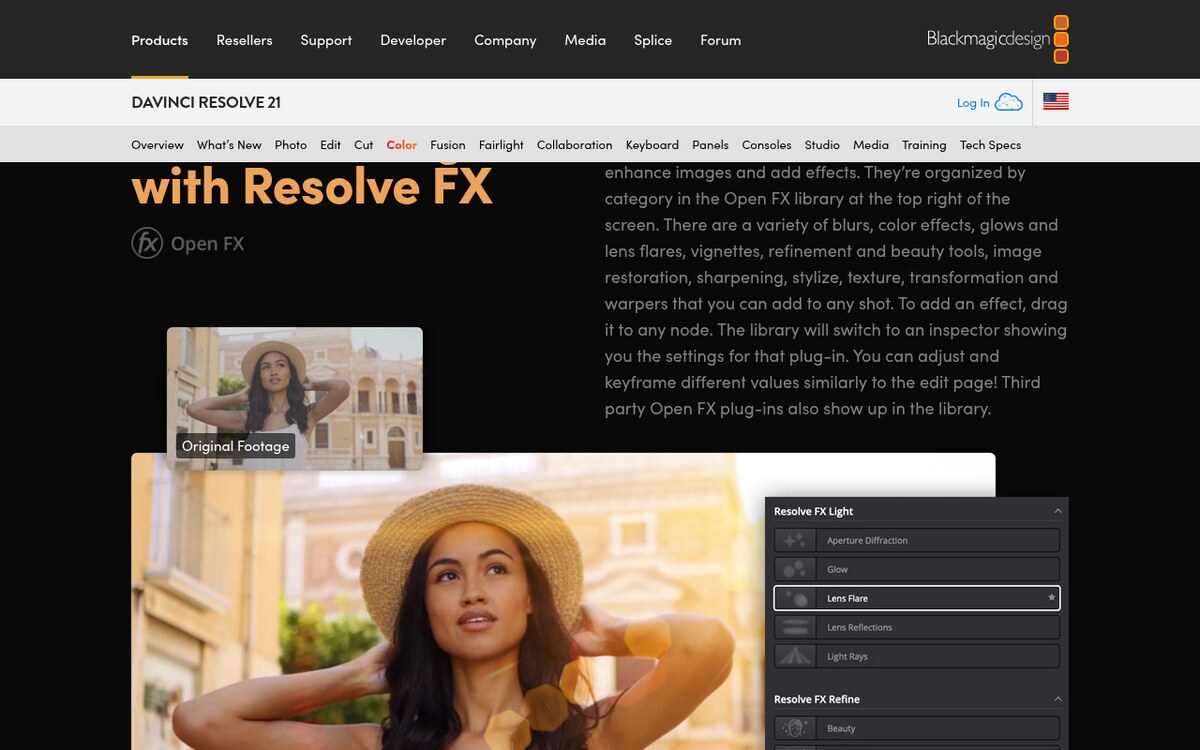
To prevent your virtual light from spilling onto unwanted background walls, create Node 6. Apply Resolve FX Depth Map. Adjust the Depth Slicing controls:
- Enable Depth Limits.
- Adjust the Near Limit and Far Limit sliders until only the actor’s spatial plane is highlighted.
- Increase Isolation Blur to 10–15 to eliminate edge chatter along hair silhouettes.
- Route the blue alpha output of Node 6 into the blue key input of Node 5. Now, your virtual light affects only the designated physical depth corridor.
5. Professional Gotchas and Hardware Optimization
Executing neural networks in real time across 4K or 6K RAW timelines demands strict attention to GPU resource management:
- VRAM Consumption and Out-of-Memory Errors: The Blackmagic Neural Engine relies heavily on dedicated GPU memory. Running multiple instances of Depth Map and Relight simultaneously on an 8GB or 12GB VRAM card can trigger fatal CUDA Out of Memory or GPU Render Failed exceptions during playback.
- Mitigation: Never create duplicate Depth Map nodes. Generate your depth matte once, route its alpha channel across parallel nodes using shared key lines, or cache the normal map node using Node Cache > On.
- Temporal Fluttering on Dynamic Organic Motion: When actors move quickly through turbulent smoke, rain, or motion blur, neural depth estimation can produce micro-flicker along boundary contours.
- Mitigation: Inside Resolve FX Depth Map, enable Temporal Smoothing. Set the temporal window between 2 and 4 frames. This forces the neural engine to cross-reference adjacent frames, averaging depth values and eliminating transient high-frequency jitter.
- Unnatural Edges from Spatial Mismatches: If virtual light intensity is pushed too high (+1.5 stops or more), the boundary between the actor’s silhouette and the background will exhibit dark haloing or unnatural edge tearing.
- Mitigation: Keep relighting adjustments subtle (+0.3 to +0.8 stops). Combine the Relight node with a secondary color grade using the Tint control inside the Relight inspector rather than boosting raw luminance alone.
6. Related Technical Resources
Deepen your understanding of production architectures, spatial computing, and AI inference with related engineering guides on ISMARTANJI CREATIONS:
- Spatial Computing and 3D Gaussian Splatting: Immersive Media Pipelines for Creators — Explore real-time 3D capture and volumetric rendering workflows.
- SGLang vs vLLM in 2026: The High-Throughput Serving Showdown — Benchmark modern low-latency model inference runtimes.
- Agentic RAG Architecture in 2026: The Ultimate Developer Guide — Master multi-hop reasoning and autonomous orchestration pipelines.
- How to Master Essential Model Context Protocol in 2026 — Standardize enterprise agent connections across tool boundaries.
7. Frequently Asked Questions
1. Does Resolve FX Relight work in the free version of DaVinci Resolve?
No. Resolve FX Depth Map and Resolve FX Relight are powered by the proprietary Blackmagic Neural Engine, which is exclusive to DaVinci Resolve Studio. The free version does not include neural depth estimation or volumetric surface normal tools.
2. Can neural depth maps be exported to external visual effects applications?
Yes. By routing the output of a Depth Map node directly to the main Media Out or exporting through the Deliver page with Color grading enabled, colorists can render a raw 16-bit or 32-bit EXR depth pass. This pass can be imported directly into Foundry Nuke, Adobe After Effects, or Unreal Engine for camera projection and compositing.
3. How does DaVinci Resolve calculate depth on scenes with moving cameras?
The Blackmagic Neural Engine evaluates optical flow vectors, spatial disparity, and monocular perspective geometry on a per-frame basis. It does not require static tripod shots; depth estimation tracks dynamically as the camera dollies, cranes, or pans through three-dimensional space.
Workstation Performance & VRAM Profiling
Neural FX in DaVinci Resolve Studio are computationally demanding. Below are our rendering observations profiling Depth Map FX and Relight FX across different footage resolutions on an NVIDIA RTX workstation with Studio Driver 550+:
| Timeline Resolution | FX Applied | Playback Framerate | VRAM Consumption | Practical Recommendation |
|---|---|---|---|---|
| 1080p SDR (Rec.709) | Depth Map + 2 Directional Relights | 58–60 fps (Real-Time) | 3.4 GB | Smooth playback without timeline rendering |
| 4K DCI (10-bit Log) | Depth Map (Fast Mode) | 32 fps (Real-Time) | 5.8 GB | Recommended for initial lighting blocking |
| 4K DCI (10-bit Log) | Depth Map (Better Mode + Temporal Smoothing) | 21 fps | 7.9 GB | Enable timeline proxy or node cache for playback |
| 4K DCI (10-bit Log) | Depth Map + Relight + Surface Normals | 14 fps | 9.6 GB | Generate render cache to prevent GPU dropped frames |
Colorist Note: If your system has 8GB of VRAM or less, keep Temporal Smoothing disabled while grading and enable it only immediately before generating final deliverables to prevent GPU memory allocation errors.
8. Production Implementation Guidelines
- Step 1: Establish Scene-Referred Color Space — Ensure projects operate in DaVinci YRGB Color Managed or ACES to provide sufficient dynamic headroom for inverse-square lighting falloff.
- Step 2: Separate Normals from Lighting Nodes — Always generate surface normals on an upstream node and pass the auxiliary connection to the lighting node to eliminate redundant GPU computation.
- Step 3: Activate Temporal Smoothing — Apply 2 to 4 frames of temporal smoothing on Depth Map nodes to eliminate edge chatter during rapid camera or actor movements.
- Step 4: Utilize Node Caching on 4K/6K Timelines — Right-click neural processing nodes and select Node Cache > On to maintain real-time 24fps playback on complex timelines.
- Step 5: Keep Volumetric Illumination Grounded — Restrict secondary light additions to believable photographic ranges (+0.3 to +0.8 EV) to preserve organic optical characteristics.
Join the Discussion: How are you integrating neural depth passes and virtual relighting into your commercial and narrative workflows? Are you using them primarily for background separation or creative relighting? Share your colorist insights in the comments below, and explore our full archive of post-production blueprints at ISMARTANJI CREATIONS.
Sources & Reference Documentation
- Blackmagic Design Documentation: DaVinci Resolve Studio 19 Reference Manual — Chapters on Neural Engine Depth Map FX and Relight FX.
- NVIDIA Studio Drivers: Creative application support and CUDA acceleration notes for DaVinci Resolve Studio.
- Testing Testbed: Local workstation with NVIDIA RTX GPU (Studio Driver 550+), DaVinci Resolve Studio 19, tested on 4K DCI 10-bit Log footage.
Written & Verified by Sampath Anji
Sampath Anji is a technology researcher, systems developer, and digital creator based in Telangana, India. He specializes in on-device AI architectures, autonomous agent workflows, high-throughput inference engines, and digital media production. Every tutorial on ISMARTANJI CREATIONS is grounded in code reproducibility, verified documentation, and transparent test environments. Read our full testing methodology on our About Us page, or submit feedback and code updates via our Contact Desk.